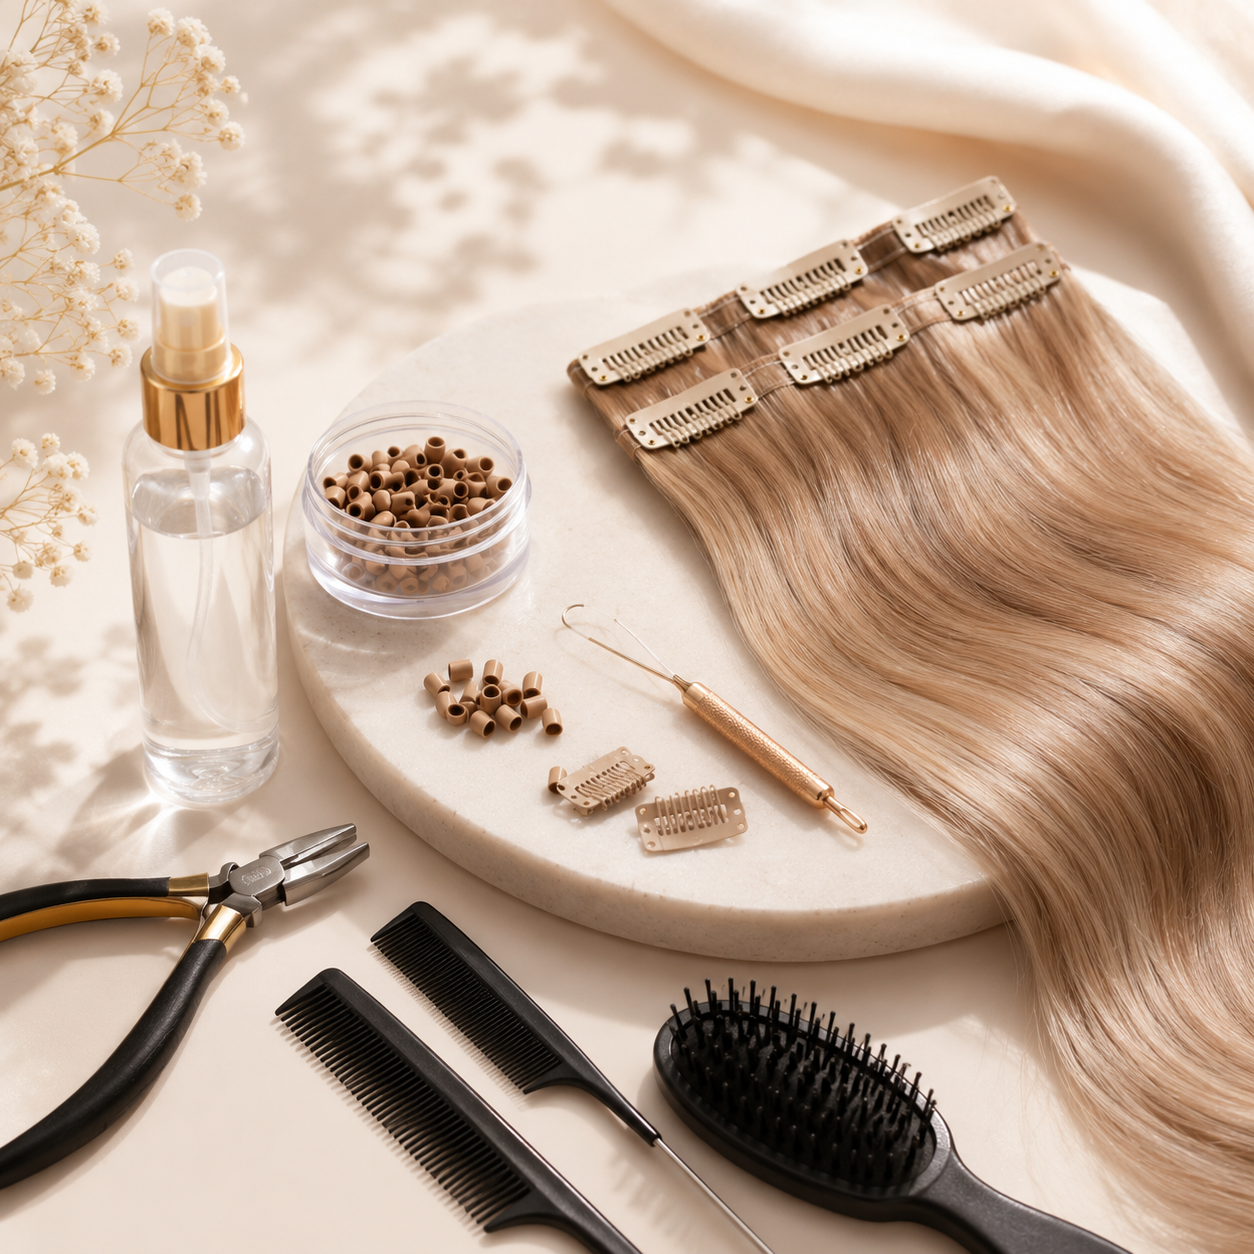
ATTACHMENT & REMOVAL
CHOOSE ATTACHMENT METHOD
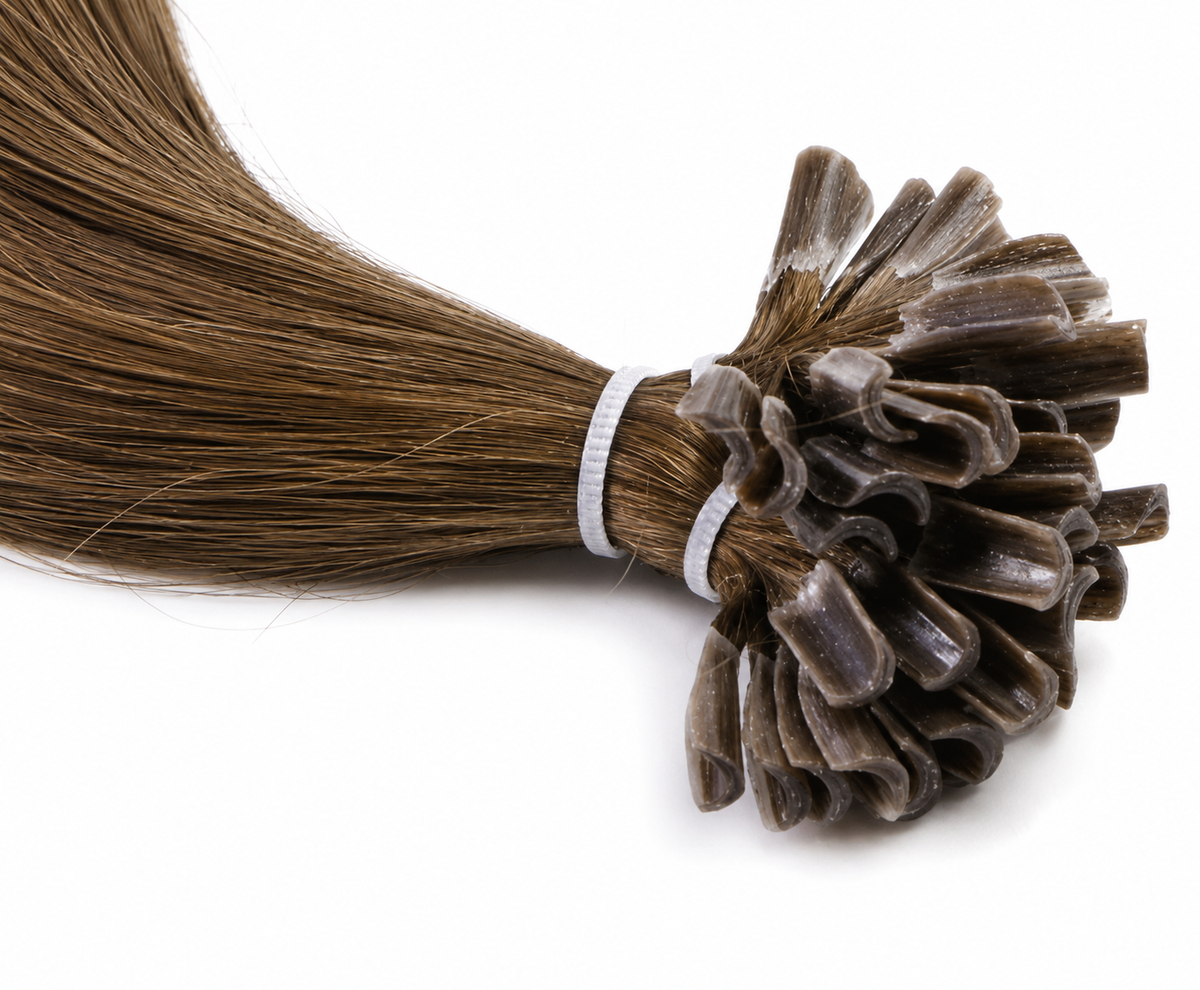
Keratin Extensions
APPLYING KERATIN EXTENSIONS
Part your hair. Use a protective shield and separate a thin strand of your own hair. Place the extension strand underneath it and melt the keratin bond using a heat connector for keratin extensions. Once melted, roll the bond around your own hair and press firmly. Make sure the keratin surrounds the entire strand, with no air trapped inside the bond. Repeat strand by strand, working in rows. Start at the nape and work upwards.
REMOVING KERATIN EXTENSIONS
Apply remover to the bond and allow it to work. Squeeze the bond firmly with removal pliers. Gently slide or comb out the extension strand. Repeat on any remaining residue.
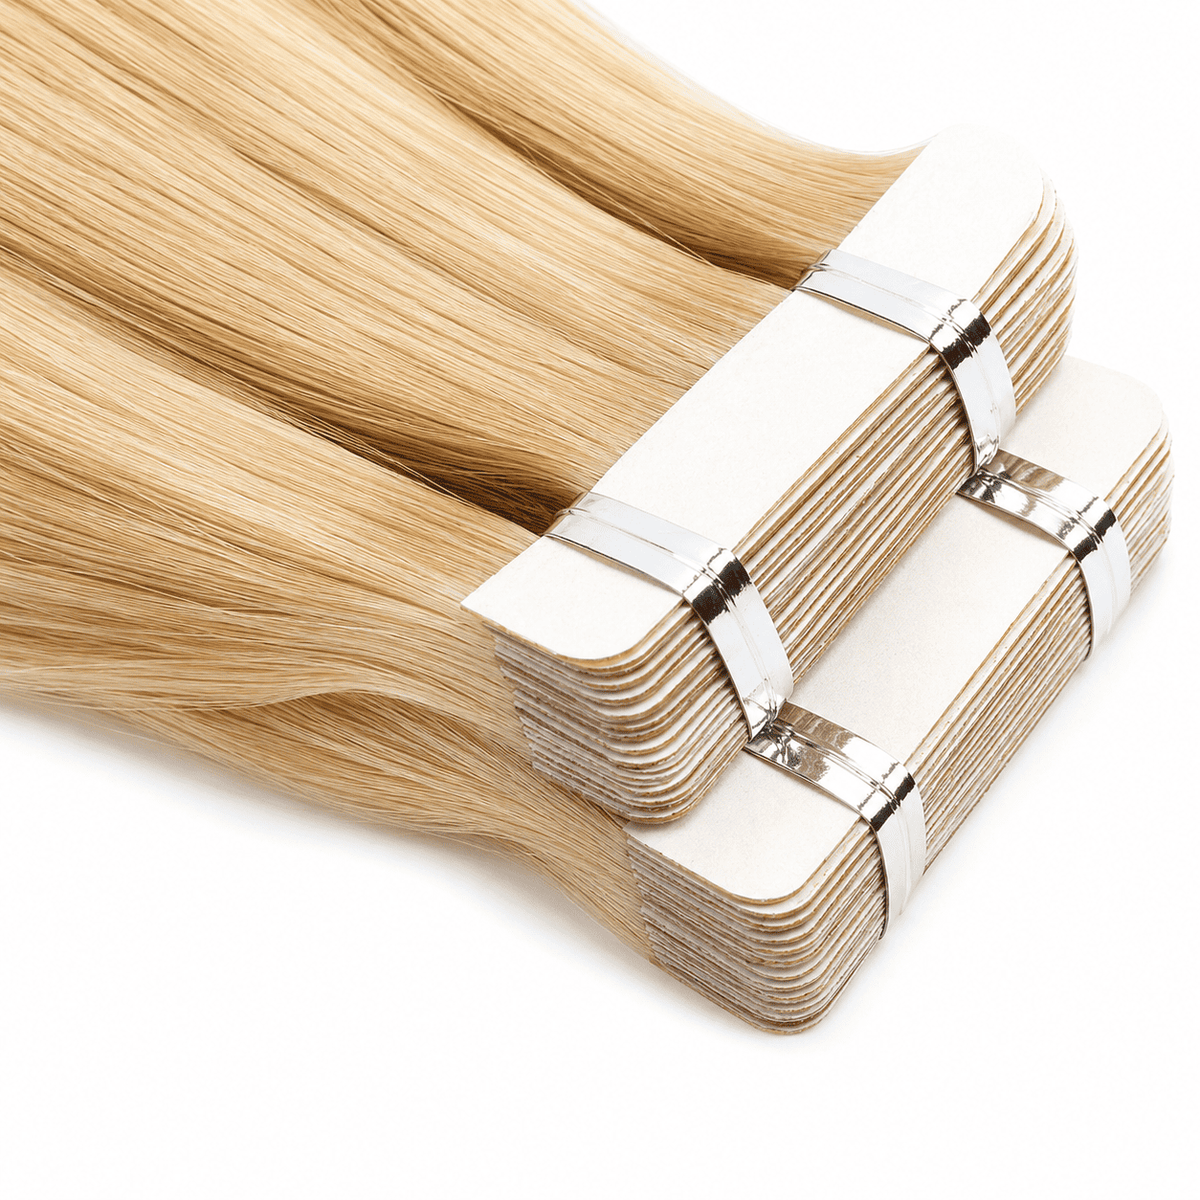
Tape Extensions
APPLYING TAPE EXTENSIONS
Wash your hair with shampoo only, without conditioner or oil, and dry it completely. Create a parting. Remove the protective backing from one tape extension and position it along the lower edge of the parting. Lift the extension and remove any hairs that do not lift with it. Place a second tape extension underneath the first, so the adhesive sides meet with your own hair between them. Press firmly, preferably using pliers, to secure the tapes together. Repeat along the parting, then continue in new rows until you have the desired amount of extensions.
Avoid touching the adhesive after removing the protective backing. Do not place the extensions too close to your scalp, and use only a very thin section of your own hair between the tapes.
REMOVING TAPE EXTENSIONS
Apply remover over the entire attachment and massage it in. Separate the extensions using your fingers or a comb. Apply more remover if needed, then remove the extension. Apply remover to any residue. Repeat for each attachment.
Tape Extensions hold securely when applied correctly. Use only a very thin section of hair between the tapes and press them together firmly. If the tape does not stick, try pressing two Tape Extensions together without hair between them. If they stick, the tape is working and the application needs adjusting. Be gentle when detangling, especially when the hair is wet.
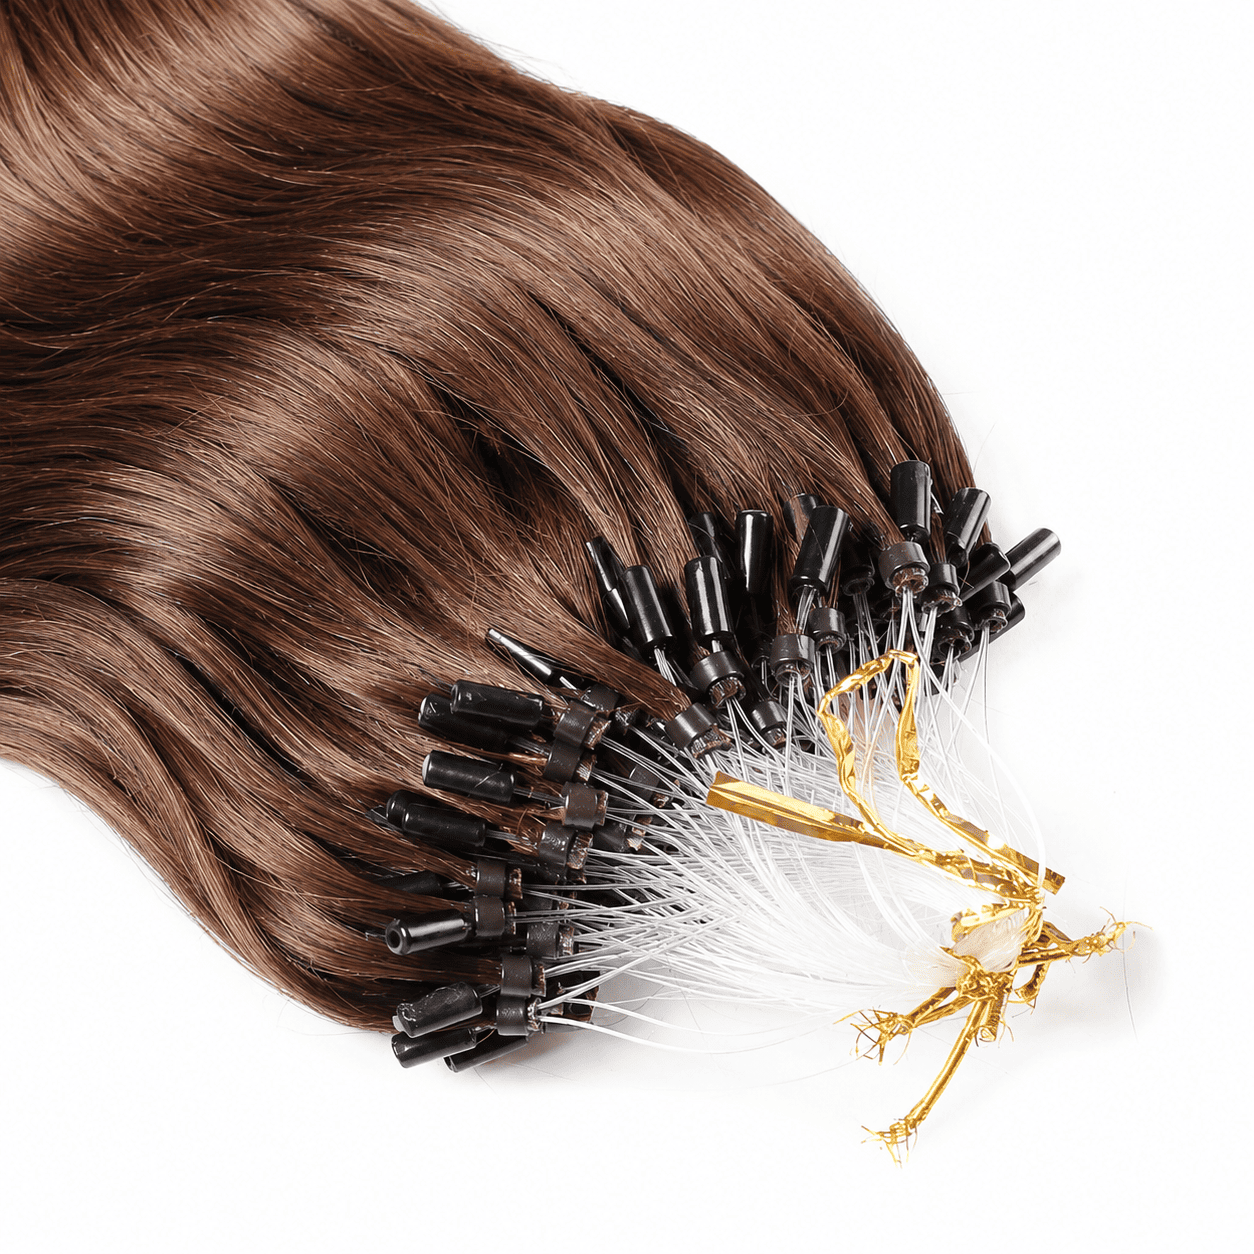
Micro Ring Extensions
APPLYING MICRO RING EXTENSIONS
You will need pliers and preferably a tail comb. Part your hair and use the comb to separate a small strand of your own hair. Pull this strand through the plastic loop attached to the extension. Pull the loop through the microring, positioning the ring approximately 1 cm from the scalp. Use pliers to squeeze the ring firmly until it is flat.
Use the right amount of your own hair inside each ring. You should feel some resistance when pulling the hair through. Too little or too much hair will prevent the ring from holding securely.
REMOVING MICRO RING EXTENSIONS
Squeeze the ring in the opposite direction with pliers to open it. Slide out the extension strand and repeat for the remaining strands.
Nano Hair Extensions
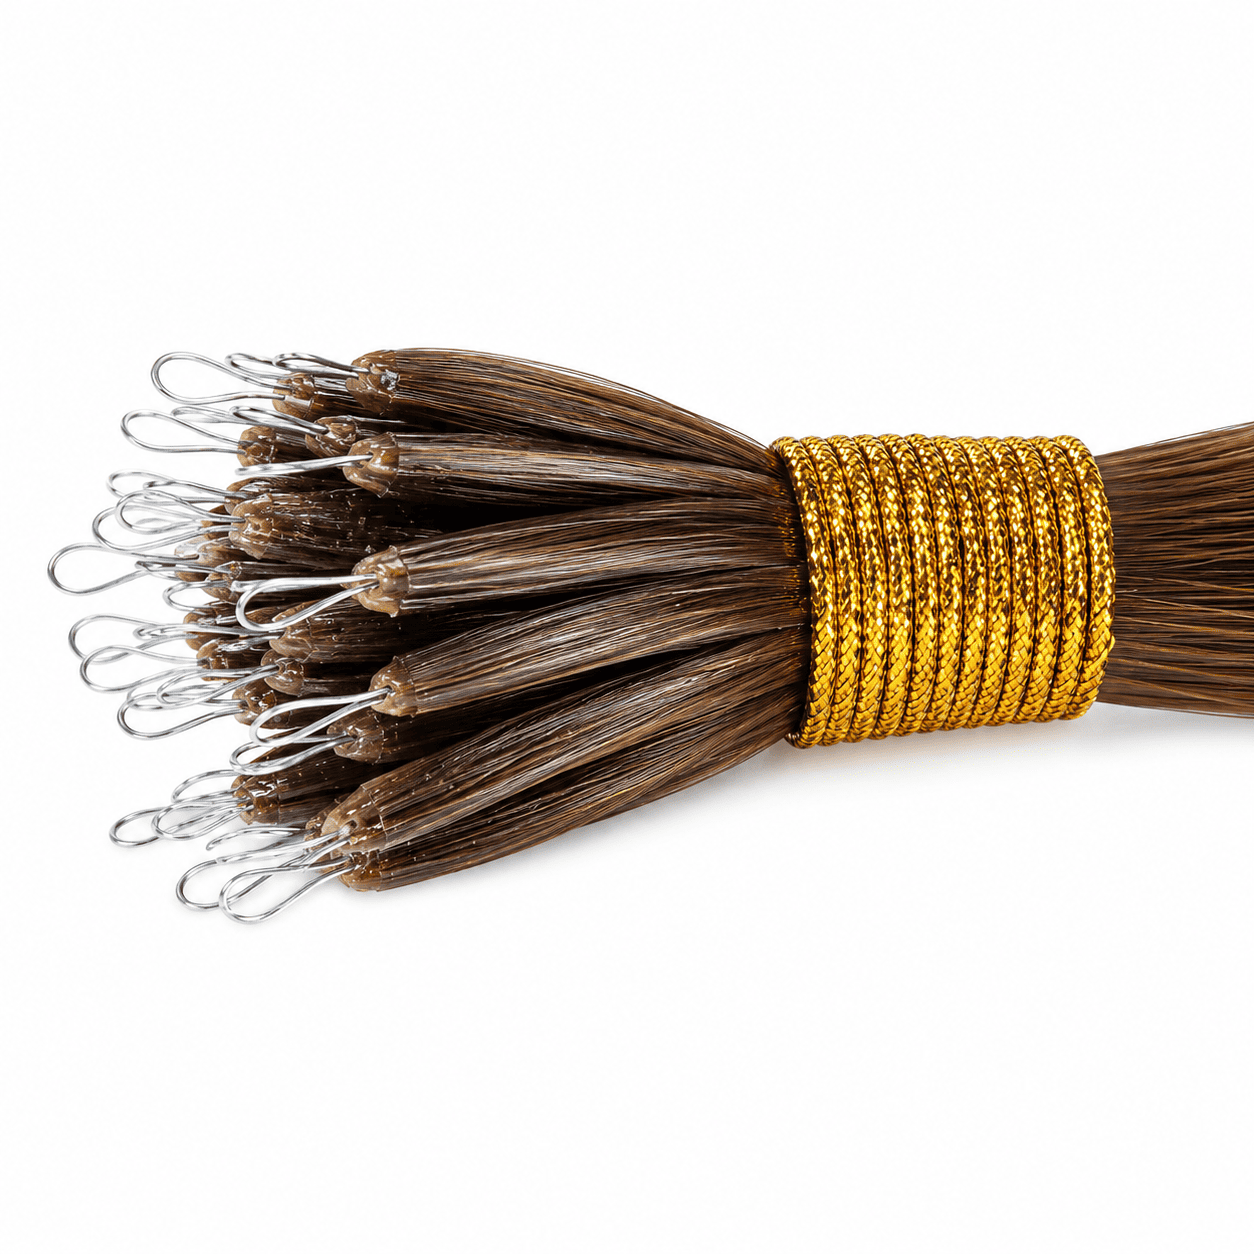
APPLYING Nano Hair Extensions
Start by parting your hair. Thread a few nanorings onto the extension hook. Use a tail comb to separate a strand of your own hair and pull it through the hook, then through a nanoring. Insert a nano extension strand into the ring and squeeze the ring firmly closed with pliers.
REMOVING Nano Hair Extensions
Squeeze the nanoring in the opposite direction with pliers to open it. Slide out the extension strand and repeat for the remaining strands.
Hair Weft
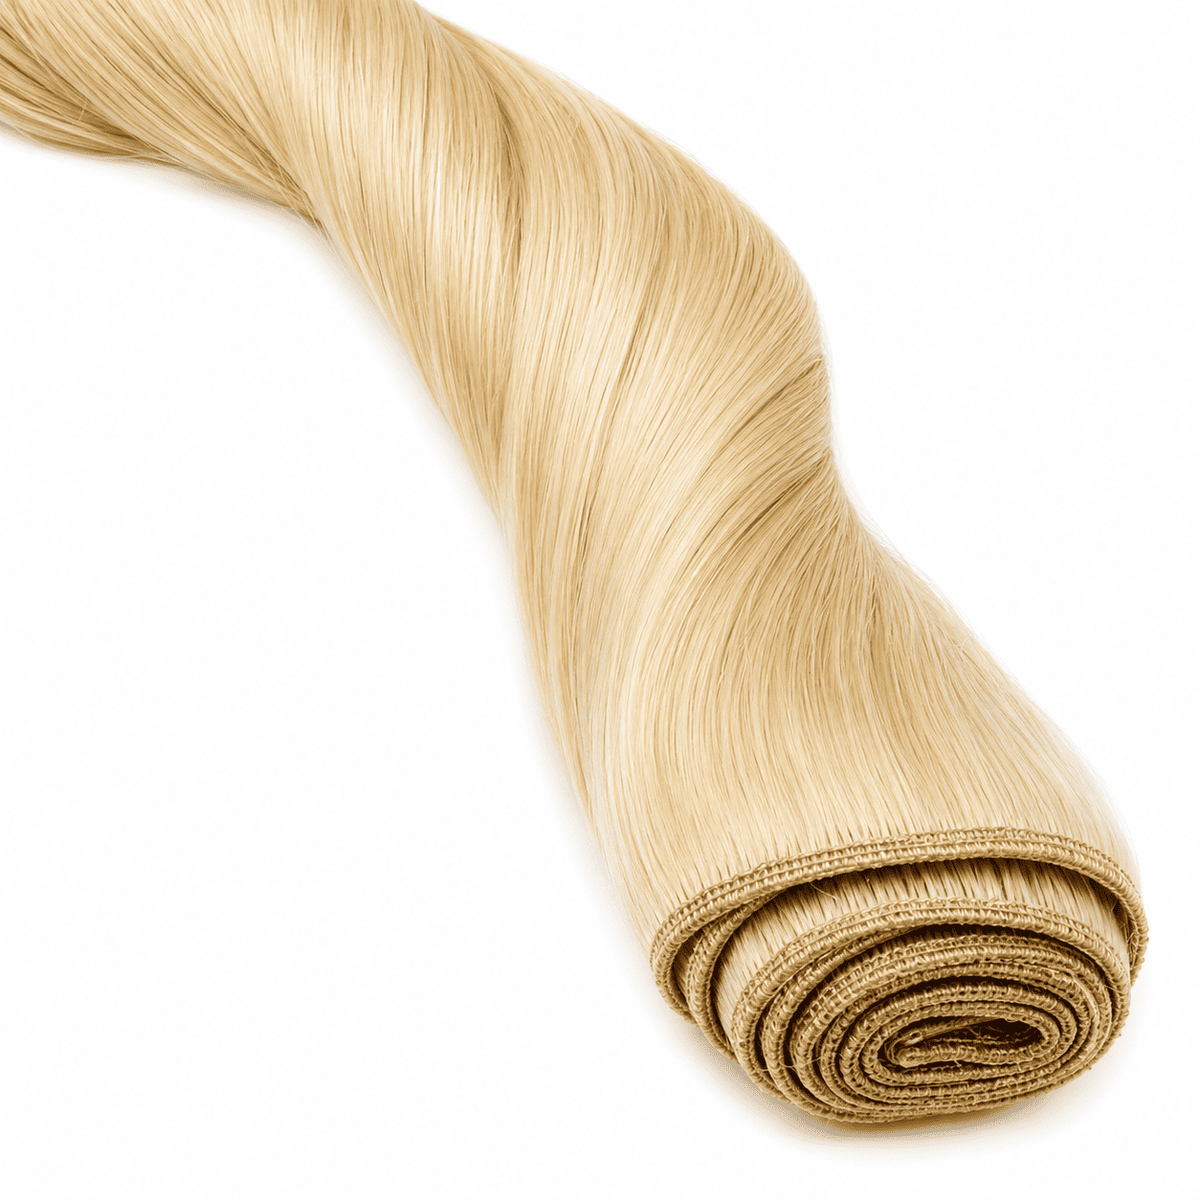
Hair wefts offer many possibilities. You can sew in your weft or attach it using microrings. By sewing in clips, you can also create your own Clip-on set. With a little effort, you can get a hair extension that is specially designed for you.
APPLYING HAIR WEFTS
Clips: You need clips, a needle (not sold by us) and thread. Cut the hair weft into pieces, as long as you want them. Sew in clips with 5-10 cm intervals. You need approximately 20 clips for a Clip-on set. Then attach it according to the Clip-on instructions.
Weave: Part your hair. Create a horizontal cornrow along the parting and secure it. Cut a desired length of hair weft. Thread a curved needle and sew the hair weft into the braid. Repeat the procedure until you are satisfied with the amount of hair. Start at the nape and work your way up.
Microrings: Part the hair where you want to attach the loose hair and cut the length you want from the hair weft. Thread a microring on a hook for microrings. Place the hair weft against the lower edge of the parting. Use the hook to take part of your own hair and part of the hair weft. Thread the hair through the microring and clamp the microring using a pair of pliers.
Ponytail
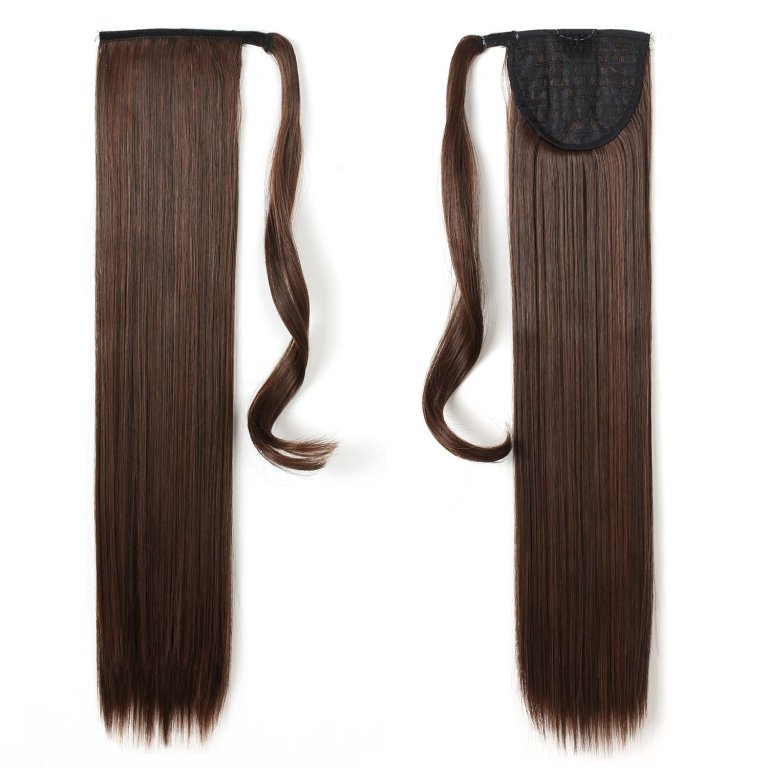
APPLYING A CLIP-ON PONYTAIL
Make a ponytail in your own hair. Attach the comb to the ponytail and then wrap and fasten the Velcro strap around it. Secure the end of the hair with a bobby pin.
REMOVING A CLIP-ON PONYTAIL
Unfasten the Velcro strap and lift the ponytail away.
Clip-on Extensions
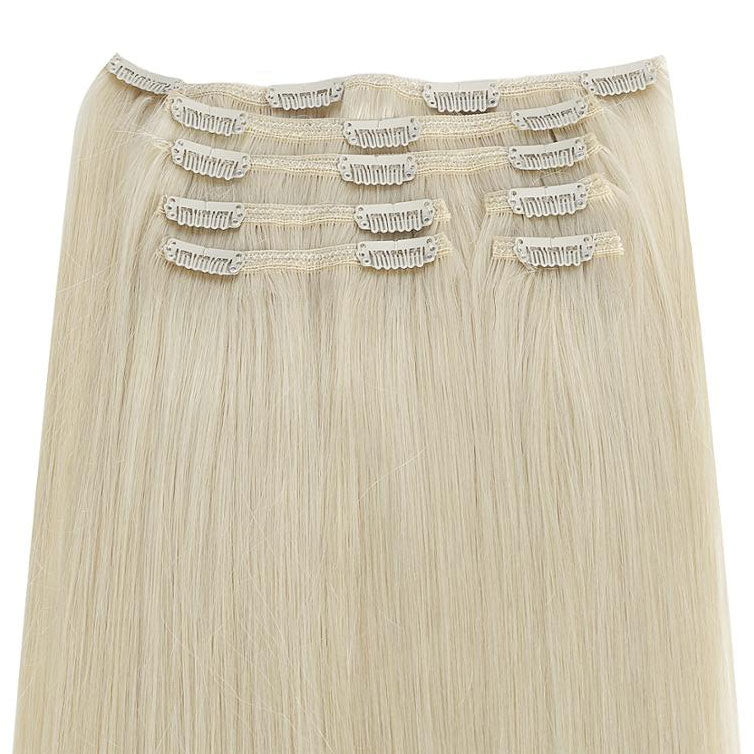
APPLYING CLIP-ON EXTENSIONS
Part the hair at the back of your head. You can backcomb your own hair just below the parting to help the clips grip. Open the clips on an extension section, hook them into the backcombed hair and press them closed. Repeat with the remaining sections, starting at the nape and working upwards, then towards the sides.
REMOVING CLIP-ON EXTENSIONS
Open the clips and remove the extensions section by section.
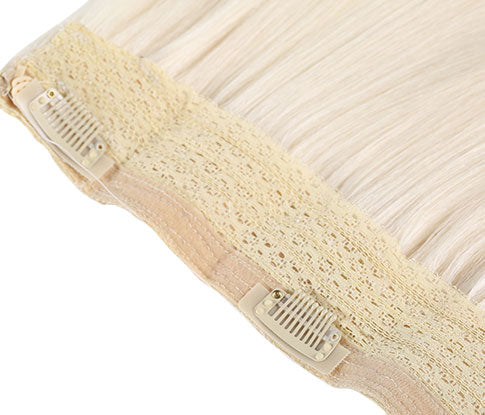
Halo Extensions
ATTACHMENT OF HALO EXTENSIONS
Place the thread over your own hair, a few fingers' width from the hairline on the forehead. Press your halo hairpiece down so that it is secured over your own hair, making sure the clips are open. Press the clips so that they close and sit in your hair. The thread is adjustable so that it fits you. When the extension is in place, take a tail comb and pull up your own hair so that most of it ends up above the wire and the extension so that it is hidden.
REMOVING HALO EXTENSIONS
The clips are opened and then the extensions is simply lifted upwards and comes off the head.
Keratin Extensions
APPLYING KERATIN EXTENSIONS
Part your hair. Use a protective shield and separate a thin strand of your own hair. Place the extension strand underneath it and melt the keratin bond using a heat connector for keratin extensions. Once melted, roll the bond around your own hair and press firmly. Make sure the keratin surrounds the entire strand, with no air trapped inside the bond. Repeat strand by strand, working in rows. Start at the nape and work upwards.
REMOVING KERATIN EXTENSIONS
Apply remover to the bond and allow it to work. Squeeze the bond firmly with removal pliers. Gently slide or comb out the extension strand. Repeat on any remaining residue.
Tape Extensions
APPLYING TAPE EXTENSIONS
Wash your hair with shampoo only, without conditioner or oil, and dry it completely. Create a parting. Remove the protective backing from one tape extension and position it along the lower edge of the parting. Lift the extension and remove any hairs that do not lift with it. Place a second tape extension underneath the first, so the adhesive sides meet with your own hair between them. Press firmly, preferably using pliers, to secure the tapes together. Repeat along the parting, then continue in new rows until you have the desired amount of extensions.
Avoid touching the adhesive after removing the protective backing. Do not place the extensions too close to your scalp, and use only a very thin section of your own hair between the tapes.
REMOVING TAPE EXTENSIONS
Apply remover over the entire attachment and massage it in. Separate the extensions using your fingers or a comb. Apply more remover if needed, then remove the extension. Apply remover to any residue. Repeat for each attachment.
Tape Extensions hold securely when applied correctly. Use only a very thin section of hair between the tapes and press them together firmly. If the tape does not stick, try pressing two Tape Extensions together without hair between them. If they stick, the tape is working and the application needs adjusting. Be gentle when detangling, especially when the hair is wet.
Micro Ring Extensions
APPLYING MICRO RING EXTENSIONS
You will need pliers and preferably a tail comb. Part your hair and use the comb to separate a small strand of your own hair. Pull this strand through the plastic loop attached to the extension. Pull the loop through the microring, positioning the ring approximately 1 cm from the scalp. Use pliers to squeeze the ring firmly until it is flat.
Use the right amount of your own hair inside each ring. You should feel some resistance when pulling the hair through. Too little or too much hair will prevent the ring from holding securely.
REMOVING MICRO RING EXTENSIONS
Squeeze the ring in the opposite direction with pliers to open it. Slide out the extension strand and repeat for the remaining strands.
Nano Hair Extensions
APPLYING Nano Hair Extensions
Start by parting your hair. Thread a few nanorings onto the extension hook. Use a tail comb to separate a strand of your own hair and pull it through the hook, then through a nanoring. Insert a nano extension strand into the ring and squeeze the ring firmly closed with pliers.
REMOVING Nano Hair Extensions
Squeeze the nanoring in the opposite direction with pliers to open it. Slide out the extension strand and repeat for the remaining strands.
Hair Weft
Hair wefts offer many possibilities. You can sew in your weft or attach it using microrings. By sewing in clips, you can also create your own Clip-on set. With a little effort, you can get a hair extension that is specially designed for you.
APPLYING HAIR WEFTS
Clips: You need clips, a needle (not sold by us) and thread. Cut the hair weft into pieces, as long as you want them. Sew in clips with 5-10 cm intervals. You need approximately 20 clips for a Clip-on set. Then attach it according to the Clip-on instructions.
Weave: Part your hair. Create a horizontal cornrow along the parting and secure it. Cut a desired length of hair weft. Thread a curved needle and sew the hair weft into the braid. Repeat the procedure until you are satisfied with the amount of hair. Start at the nape and work your way up.
Microrings: Part the hair where you want to attach the loose hair and cut the length you want from the hair weft. Thread a microring on a hook for microrings. Place the hair weft against the lower edge of the parting. Use the hook to take part of your own hair and part of the hair weft. Thread the hair through the microring and clamp the microring using a pair of pliers.
Ponytail
APPLYING A CLIP-ON PONYTAIL
Make a ponytail in your own hair. Attach the comb to the ponytail and then wrap and fasten the Velcro strap around it. Secure the end of the hair with a bobby pin.
REMOVING A CLIP-ON PONYTAIL
Unfasten the Velcro strap and lift the ponytail away.
Clip-on Extensions
APPLYING CLIP-ON EXTENSIONS
Part the hair at the back of your head. You can backcomb your own hair just below the parting to help the clips grip. Open the clips on an extension section, hook them into the backcombed hair and press them closed. Repeat with the remaining sections, starting at the nape and working upwards, then towards the sides.
REMOVING CLIP-ON EXTENSIONS
Open the clips and remove the extensions section by section.
Halo Extensions
ATTACHMENT OF HALO EXTENSIONS
Place the thread over your own hair, a few fingers' width from the hairline on the forehead. Press your halo hairpiece down so that it is secured over your own hair, making sure the clips are open. Press the clips so that they close and sit in your hair. The thread is adjustable so that it fits you. When the extension is in place, take a tail comb and pull up your own hair so that most of it ends up above the wire and the extension so that it is hidden.
REMOVING HALO EXTENSIONS
The clips are opened and then the extensions is simply lifted upwards and comes off the head.
Premium Hair Extensions and Hair Care
Everything you need for longer, fuller and healthier hair – buy extensions and hair care in one place.